Climbing on Loose Rock and Runout Routes
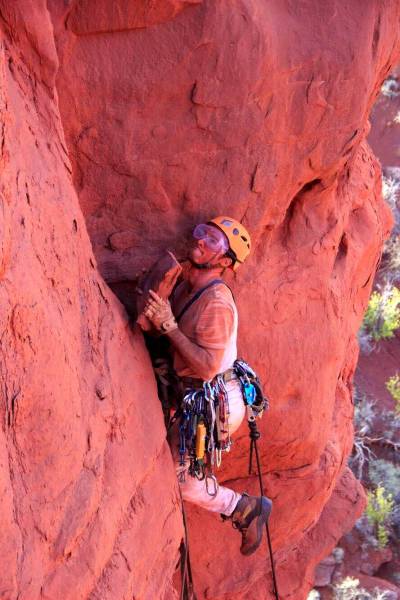
Climbing on Choss
Accidents involving loose rock fall into three main categories:
1) Belayers being hit by rocks from the leader
2) Leaders falling because they held/ stood on loose rock
3) Being hit by random rockfall from above (either from other climbers, natural rockfall or from your ropes when abseiling)
One of the major contributing factors to accidents when climbing on loose rock is known as ‘positive reinforcement’. You climb a chossy route, place gear behind loose flakes and climb on loose blocks. They stay in place and you’re fine.
You climb another chossy route without falling. And another and another. Success! There’s nothing like positive reinforcement.
However, the truth is that in most near misses, the climber has no idea they even had a near miss. Maybe you didn’t weigh quite enough to pull that huge block off.
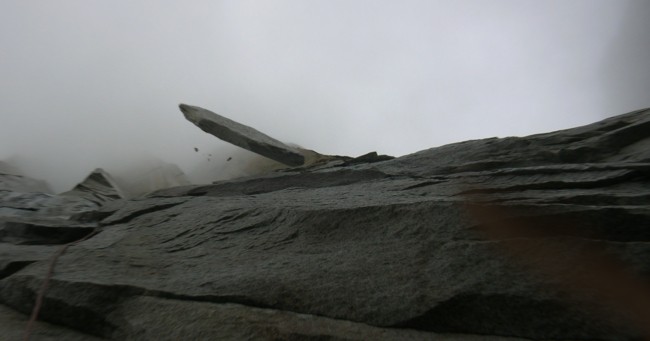
Climbing on loose rock is a bit like playing football on a minefield. Stay away, but if you end up stuck in a band of choss, take your time and be very gentle.
There are precautions you can take (such as wearing a helmet, not starting a route beneath other climbers, or just avoiding loose routes altogether), but if you climb enough alpine rock, you’ll eventually encounter an unavoidable loose section.
The real skill is to learn how to deal with choss. You can place gear in loose rock, you can pull on loose blocks. But you first have to factor the following into the equation:
– Exactly how loose the features are
– How sharp the edges are
– How big the loose rock is
– Where the rock would fall if it broke
– If you have gear beneath you in solid rock
– How your partner will follow the pitch
It is fairly safe to climb through a small band of brittle flakes if your belayer is out of the rockfall zone and you have good gear in solid rock just below you. Place gear appropriately so that your rope runs clear of any loose blocks or sharp edges. Communicate with your partner so they know where the loose sections are.
It is not safe to climb a massive, teetering jenga-tower of sharp-edged death-blocks with your belayer and another team directly below.
Testing Rock Quality
Visual Test
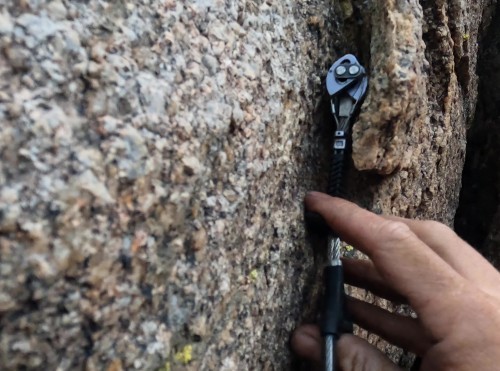
Look at the feature and figure out how it is attached to the main part of the wall. If it looks detached, don’t touch it.
Some features have very thin fracture lines around them, which suggest poor rock quality. These fracture lines are sometimes covered in lichen or otherwise hard to see, so look carefully.
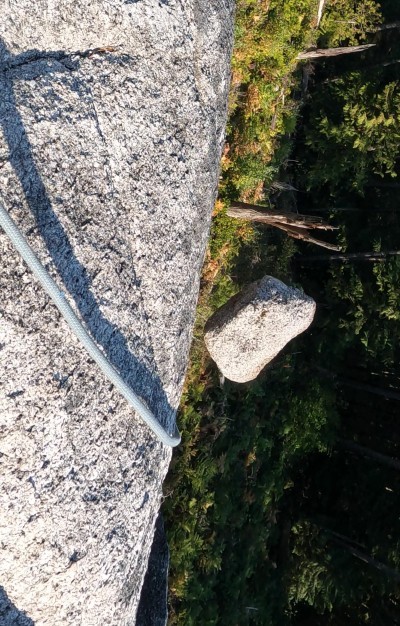
Tap Test
If you are still uncertain about the quality of a rock feature, give it a gentle tap and listen to the noise it makes. Loose rock ‘echoes’ and sounds hollow.
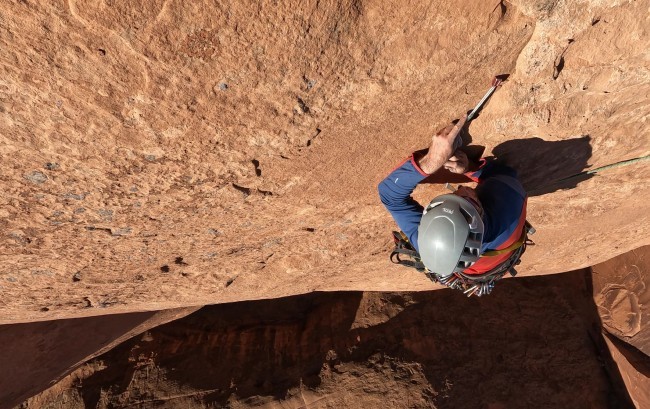
If you must climb through a small band of brittle flakes, determine which are the best holds and selectively distribute your weight between them. Pull down on holds, rather than out.
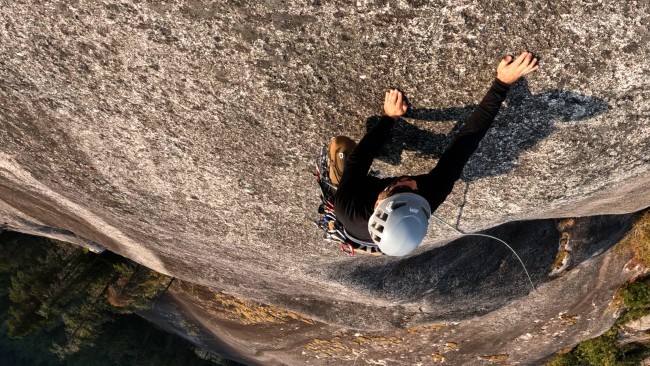
Climbing Runout Routes
Runout routes (climbs with little or no protection) should only be attempted by experienced climbers who understand the risks involved.
You can obviously reduce your chances of an accident by not climbing a sparsely protected route. However, if you are lured in by the appeal of danger, or if you end up on a runout by mistake, you will be safe if you abide by the two golden rules:
1) Do not climb up something that you cannot climb down
2) Do not fall!
Here are some tips to help you stick to these two rules:
1) Choose a route which is well within your comfort zone.
2) Make slow, controlled movements, keeping three points of contact at all times.
3) Place gear at every possible opportunity. Go off-route if you have to.
4) Equalize gear to make a stronger point of protection. A lot of bad gear equalized together is better than no gear.
5) Test the quality of each hand and foot hold before you use them. Stay away from loose rock.
6) Remember that you can always downclimb if the route gets too sketchy.
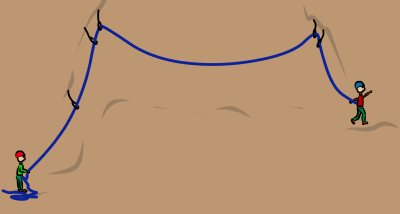
Following a Runout Traverse
The consequence of falling on an unprotectable traverse is likely to be a horrendous pendulum. Depending on the route, this could be much worse for the follower than the leader.
To reduce fall potential, the leader should place protection as high as possible before and after the traverse.
If the follower still faces a serious fall, they can use a ‘back rope’.
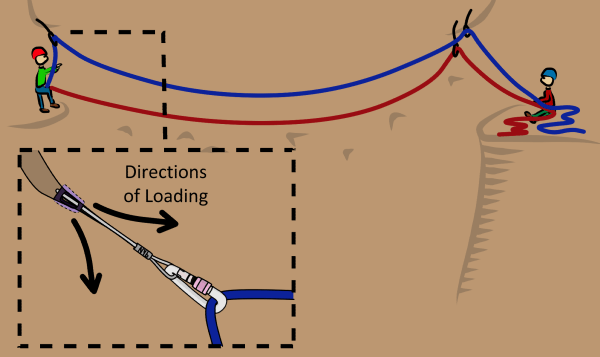
Back Roping
Back roping works best when climbing on two ropes (such as half ropes). If you only have one rope consider the safer lowering out technique instead.
Step 1
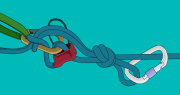
Leave one of the ropes clipped into the last reliable piece of gear. This piece of gear should be capable of taking a sideways pull. You will have to leave this gear behind.
Step 2
Clip a carabiner or quickdraw to your belay loop and to the rope which you are back roping from. This ensures that you can retrieve your rope after the next steps.
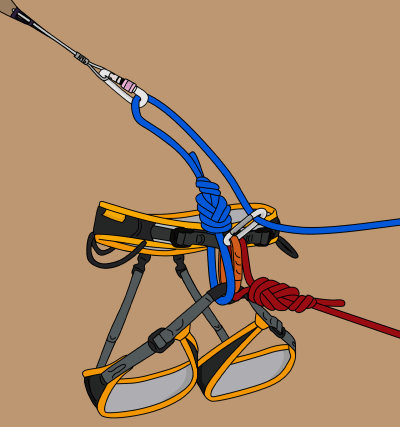
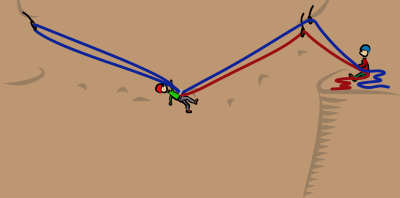
Step 3
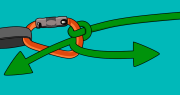
As you climb across the traverse, the leader takes in on one rope (red) and gives slack on the other (blue). If you fall, you will be suspended between the ropes.
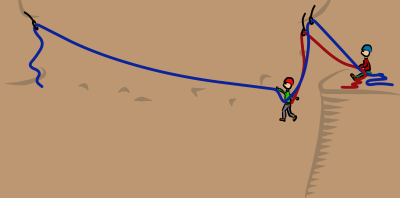
Step 4
After the traverse, untie from the back rope and pull it through the gear. Make sure there is no knot in the end of the rope!
Step 5
Tie back in to the end of the rope and allow your partner to take in the slack before you continue climbing.
Related Topics

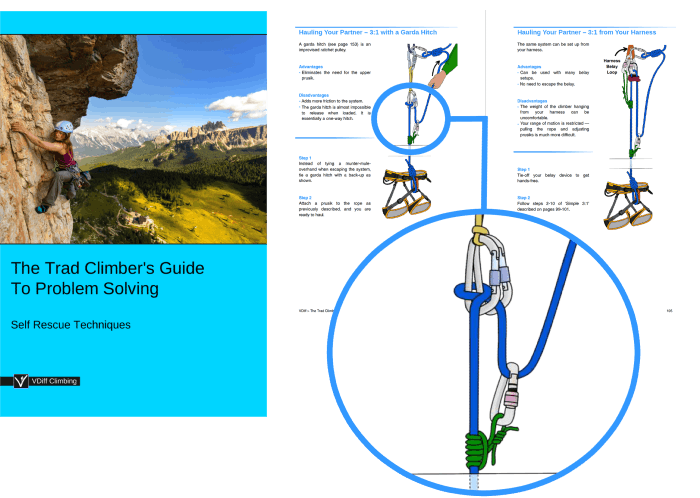
The article above is part of the book – The Trad Climber’s Guide To Problem Solving
E-book (pay what you want)
Paperback
Kindle
Free Sample
Learn how to:
– Use a variety of self-rescue techniques
– Build self-equalizing anchors with minimal gear
– Abseil without a belay device
– Abseil with damaged ropes
– Descend from bad anchors
– Negotiate loose rock
– Use basic aid techniques
– Simul-climb safely
– Prevent accidents from occurring in the first place
Plus much more.