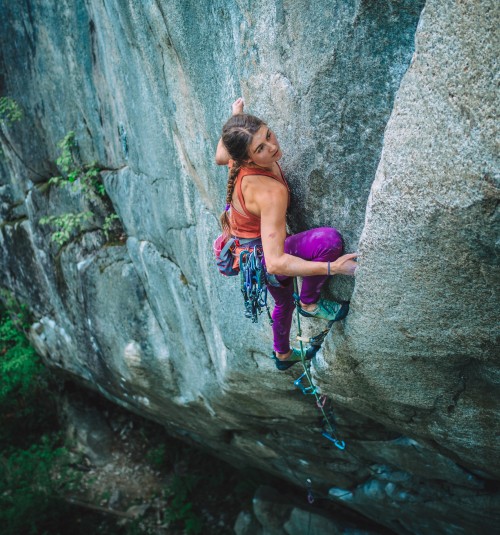
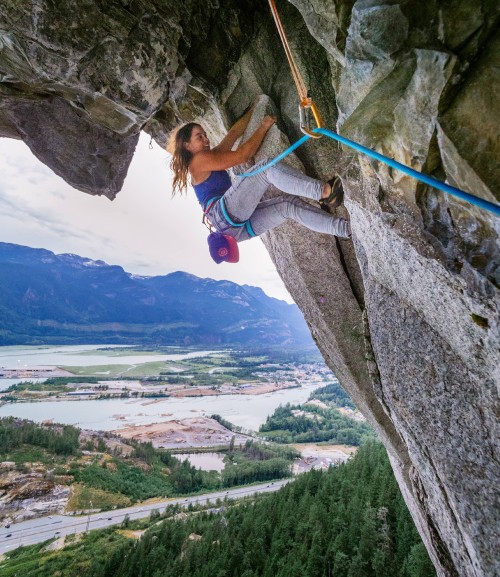
Leading Trad: When to Place Gear
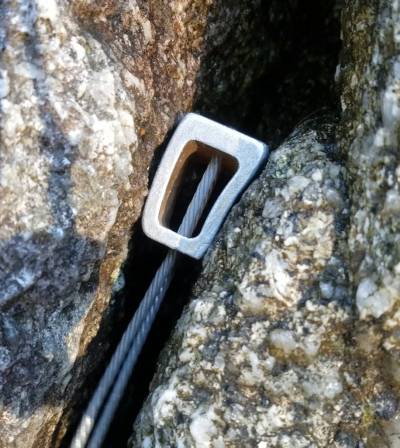
Trad gear is normally placed in cracks, behind flakes and around blocks. The important thing to remember is that these features are weaknesses in the rock. Some of these features are solid, and some are incredibly unstable and dangerous. To a beginner, these may appear the same. You must pay close attention to how solid the rock is.
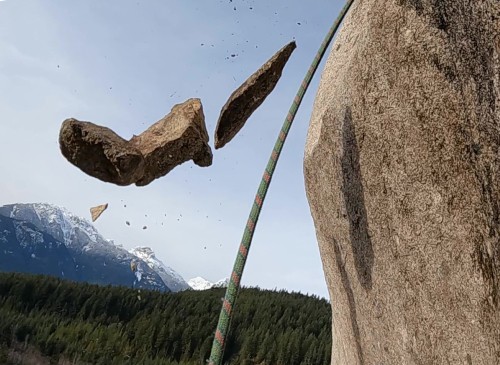
You can test flakes and blocks by hitting them with your fist; loose rock sounds hollow. Look for fracture lines (super thin cracks) around features and visualize how they are attached. If a block isn’t securely attached to the main part of the rock, then look for something else. Gear placed behind loose features is likely to be pulled out in a fall, along with the feature itself. This could potentially hit your belayer or cut your rope.
Because most trad gear relies on friction to stay in position, you must make sure the rock is clean and dry. Gear placed in a crack coated with dust, mud, ice or water is much less reliable.
There are no definite guidelines of exactly which type of protection should be used for each particular situation. The important part of learning to use trad gear is understanding the physics behind it; how and why each piece generates force on the rock.
How Often Should I Place Trad Gear?
Here are some things to consider:
Trad Gear is Less Reliable than Sport Climbing Bolts
It’s generally safe to fall at any time on a bolted sport route, whether indoors or at the crag. However, if the same attitude is applied to trad climbing, you’ll soon get injured.
Nuts can wiggle out, slings can lift off and cams can walk out of position. This is caused by movements in the rope as you climb past. As a general rule of thumb, you should place two good pieces of trad gear for every bolt you would clip on a sport route.
Where is Your Next Gear?
If gear placements are far apart, poor quality and/or difficult to find, you should place gear at every opportunity. As a beginner, however, ‘runout’ climbs like these are best avoided.
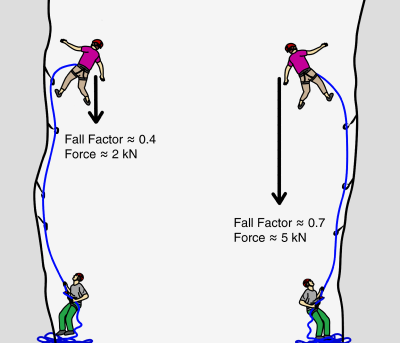
Bigger Falls Generate More Force on Gear Placements
Most pieces of trad gear are strong enough to hold an enormous ‘whipper’. The gear itself probably won’t break. However, the force of a huge fall is more likely to break the rock which holds it in place.
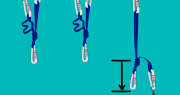
The higher you climb above a piece of gear, the less reliable that piece becomes. Click here for more information about fall factors.
How Good is Your Last Protection?
If the pieces below you are sub-optimal, place solid gear as soon as you can.
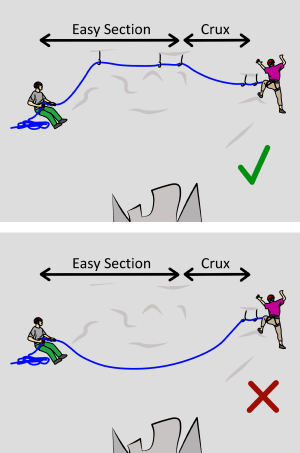
Pulling Crux Moves
A crux move will be much harder if you stop in the middle to place gear. If possible, place a few pieces as high as you can just before the crux, and then commit to the moves. Place gear again once past the crux.
Obviously this is only safe if the gear is good and the consequences are minimal.
If the crux section is long, you will need to seek out the best points to place gear during it. Utilize large hand holds or good stances and look for spots where the gear is quick to place.
Consequences of a Fall
When you climb above a ledge, spiky flake, or any other nasty rock feature, make sure to place gear to stop you from hitting it.
The Likelihood of Falling
If the chance of falling is near zero, because the rock is solid and the moves are incredibly easy, you can justify placing less gear.
If the chance of falling is high, because the moves are insecure or the rock is brittle, you should place lots of gear close together.
Be careful of getting into the bad habit of placing minimal gear, even on super easy terrain. If you’re carrying the gear anyway, you may as well use it.
Holds can break or you might find a weird move with no protection. If you placed gear on the easy terrain below, it could save you from a long fall. Easier ground tends to be blocky and slabby – a long fall down this could be fatal.
Saving Gear for the Anchor
Make sure to ration out your gear so you arrive at the anchor with a sufficient amount of protection to build a solid anchor.
Safeguarding the Follower
When climbing traverses, make sure to place enough gear to keep your partner safe as they follow.
If there is a traversing crux, you’ll need to place good gear immediately after it to prevent them from taking a dangerous swing if they fall.
The Golden Rule
Always keep at least two good pieces between you and the hospital!
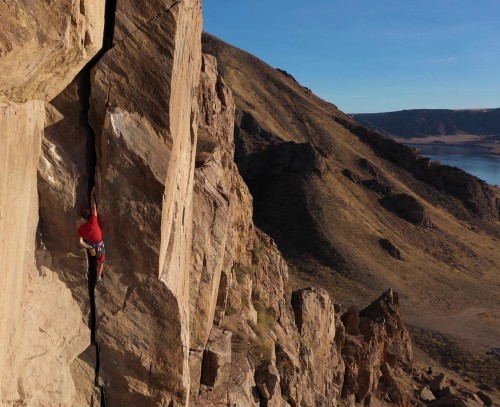
Rock Quality
Trad protection is only as strong as the rock it is placed in. Placing gear behind loose flakes or blocks is very dangerous. Not only is the gear unlikely to hold a fall, but it could dislodge loose and sharp rocks which could hit your belayer or cut your rope in a fall.
Rock Type
Granite, limestone and sandstone are the most prevalent types of rock in climbing areas, though many other types exist.
Each rock type has a different strength and probability to have loose features. Generally, ‘soft’ rocks (such as some types of sandstone and slate) are likely to have brittle edges and loose features.
Harder rocks (such as granite) lend themselves to more reliable protection. Even though granite is solid, you will often find loose blocks or bands of poor quality choss in random areas.
Some types of sandstone are coated with a hard patina of mineral-hardened rock. This makes the surface strong but masks an underlying soft layer. When a cam is heavily loaded, the lobes can punch through the patina into the softer layer, causing the unit to skate out of the crack. For this reason, it’s wise to place protection more frequently in soft rock.
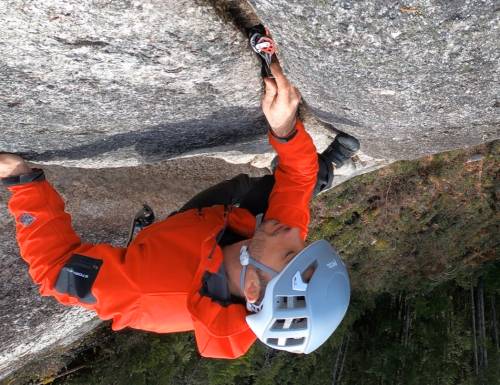
Cams in Poor Rock
Because of the large forces applied outwards on the sides of the crack, cams should always be placed in extremely solid rock. If you fall on a cam which is behind a loose flake, the cam lobes will press outwards and force the flake away from the main wall, meaning that your cam will be pulled out.
If the rock seems a little suspect, try finding a constriction to place a nut instead, since nuts apply far less outwards force when weighted.
Visual Test
Look at the feature and figure out how it is attached to the main part of the wall. If it looks detached, don’t touch it.
Some features have very thin fracture lines around them, which suggest poor rock quality. These fracture lines are sometimes covered in lichen or otherwise hard to see, so look carefully.
Tap Test
If you are still uncertain about the quality of a rock feature, give it a gentle tap and listen to the noise it makes. Loose rock ‘echoes’ and sounds hollow.
If you must climb through a small band of brittle flakes, determine which are the best holds and selectively distribute your weight between them. Pull down on holds, rather than out.
Related Topics

This article is part of the book – Trad Climbing Basics
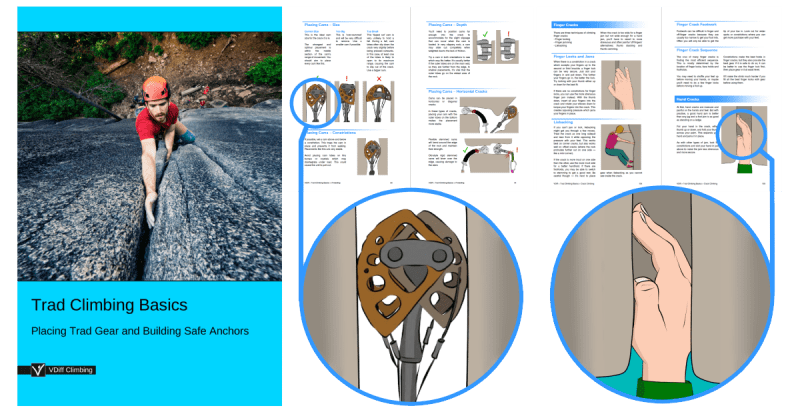
E-book (pay what you want)
Paperback
Kindle
Free Sample
Learn how to:
– Place cams, nuts and other trad gear
– Build trad anchors
– Use different belay methods
– Equalize and extend gear effectively
– Understand forces on climbing gear
– Abseil (rappel) safely with a prusik
– Climb with half ropes
– Test rock quality
– Prepare for your first trad lead
Plus much more.