How To Climb a Big Wall > Bolting
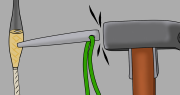
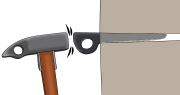
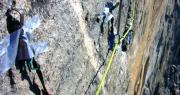
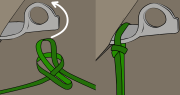
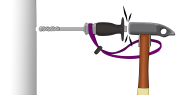
How to Climb a Big Wall: Bolting Bolting Ethics Belays Some first-ascensionists choose to create bomber bolted belays (making a quick and relieving end to the pitch for future ascensionists), while others prefer natural belays…